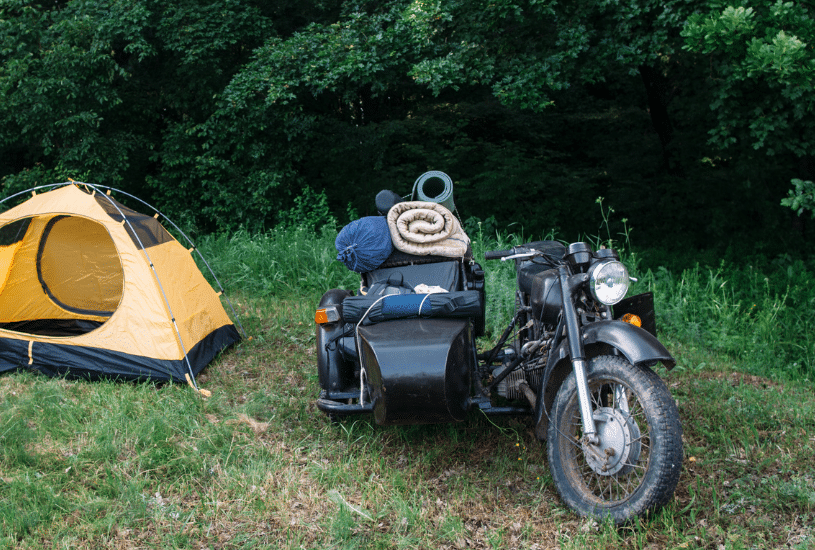
How often do you examine your motorcycle before you hit the open road? Before every single ride? Sometimes? Almost never?
We’re not talking about a brief check to make sure you’ve got two inflated tires. Instead, we’re referring to the land vehicle equivalent of a pilot’s aircraft inspection. While you don’t necessarily have to be as comprehensive as an airline pilot, we highly recommend taking a close look at your bike before jumping on and going for a ride.
We’ve outlined seven steps you should walk through to verify your motorcycle is road-ready.

Step 1: Start with the Obvious
Do a 360 look around the bike and look for anything obvious that seems unsafe or out of place. Specifically, you might notice a crack in the frame, loose footpegs, or leaks. If anything needs to be repaired, make sure you handle those repairs before making any trips.
Step 2: Look at Your Wheels
There are a couple of things you should be looking for here. The first is adequate tire pressure. Make sure that the tires are inflated to the manufacturer’s recommended psi.
Next, check the tread to make sure you’ve got proper traction for the road. Look for even wear and enough remaining tread. You can tell you’ve got enough tread by putting a penny head down in the tread’s grooves. If you can see the top of Lincoln’s head, then it’s time to replace the tires.
Step 2: Check the Brakes
Here, you’ll want to look at your brake pads to ensure they haven’t experienced excessive wear. If your brake pads had grooves in them when they were new (and most do), make sure that there is still evidence of a groove.
We also suggest testing your brakes (both front and rear) to ensure they work.
Step 3: Confirm Electrical Systems are a Go
Whether your bike is brand new or vintage, you’ll at least need to ensure the battery is in good working order. Check the terminal cables to verify they’re firmly attached and make sure there’s no corrosion. If you do notice some gunk, a simple baking soda solution can wipe things clean.
Turn the ignition key and examine the display to ensure everything that should light up does, and no warning lights appear. You can also take this opportunity to check all of your lights, including headlight and taillight, your turn signals, and your brake light. Give your horn a quick honk to be sure it’s functional and audible.
And finally, while you’re here, check the rotation of the handlebars to ensure a full range of motion.
Step 5: Examine Your Hoses
A leaking or detached hose can leave you stranded in the middle of nowhere. At worst, you could end up in an accident as you lose fluid or power from a faulty hose. Take a quick look at your hoses to check that they’re connected properly and free from cracks.
Step 6: Ensure Proper Hydration
Just like humans need to stay hydrated to survive, your motorcycle also relies on fluids to operate. The most important fluids to check are engine oil, fork oil (which is necessary for lubrication), and brake fluid. If your bike uses transmission fluid, remember to check those levels as well.
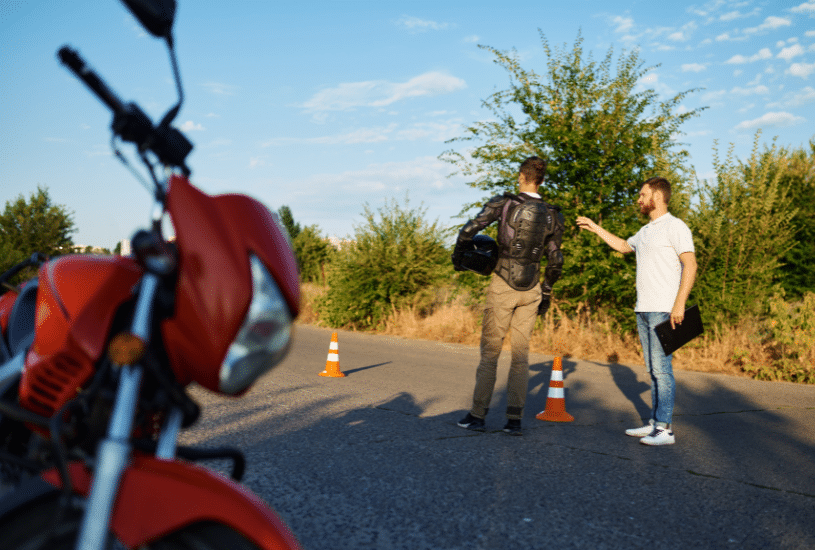
Step 7: Verify Your Gear is Operational
The final step is to make sure that all of your gear is in top shape. Examine your helmet and make sure it’s not cracked, and you can see through the visor. Even a superficial crack that seems cosmetic can affect the structural integrity of the helmet and diminish its protective capabilities in a crash.
Another factor to consider is whether your clothing, gloves, and shoes fit properly, are comfortable, and allow for an adequate range of motion.
The Importance of Motorcycle Safety Inspections
These inspections only take a few minutes, and they can mean the difference between a fun-filled ride and one that ends in tragedy. If you are in an accident, you can strengthen your case by proving that you performed these inspections regularly. Have additional questions about motorcycle safety? Visit Law Tigers to get more information.