
If you own a motorcycle, knowing how to perform basic maintenance can save you the time and money involved in taking your bike to the shop. One task we recommend learning if you’re an avid rider is how to change your motorcycle oil.
No matter your oil type, you should plan to change your oil at least once per year. Here’s our beginner’s guide for how to change motorcycle oil from home.
Things to Know Before Changing Your Oil
First, you should determine what type of oil your motorcycle uses. Some bikes use mineral-based oil, which lasts for around 2,000 to 3,000 miles. However, many modern bikes use semi-synthetic or fully synthetic oil. Semi-synthetic can last 5,000 to 6,000 miles, while you should change fully synthetic oil every 7,000 to 10,000 miles.
We also recommend consulting your bike’s owner’s manual before you begin changing the oil. Your owner’s manual can tell you the type of oil to use and ensure that you know of oddities that may impact your oil change process.
Finally, we recommend only attempting to replace your oil if you know your bike’s parts well and feel confident in your abilities. While changing the oil in a motorcycle isn’t too challenging, if you’ve never attempted bike maintenance before, you may be a little out of your wheelhouse. Messing up any of the steps below could harm your bike’s engine.
How To Change Motorcycle Oil
Step 1: Run Your Engine for a Few Minutes
Your motorcycle’s oil will drain more easily if it is warm. As a result, we recommend running your engine for at least a few minutes before you begin the oil change process. You can ride it around the block or let it idle for a few minutes while you gather supplies.
Step 2: Gather Supplies
Next, we recommend gathering all of the supplies you need before beginning your oil change. You’ll need:
- A bike lift or paddock stand (if your bike does not have a center stand)
- A funnel
- Wrenches
- An oil collection pan
- The new engine oil
- New drain plugs and sealing washers, if necessary
- An oil filter
Step 3: Drain the Oil
You can begin the oil change process by first draining your old oil. Place your drain pan under the drain plug, then unscrew the plug. The oil will start to drain into the pan.
Note: be cautious around your bike’s exhaust and metal parts if they are still hot from warming up the engine.
Step 4: Remove and Replace the Filter
Next, you can loosen the oil filter, remove it, and pour any remaining oil into the drain pan. You can now place the new oil filter in its spot, screwing it in by hand.
Step 5: Remove the Sealing Washer or Drain-Plug Gasket
Your drain plug will have a sealing washer or gasket screwed onto it. We recommend inspecting the washer to determine whether you need to replace it with a new one or can reuse it. If it is in good condition, you can simply flip it over and place it back on the drain plug, then install the plug back on your bike.
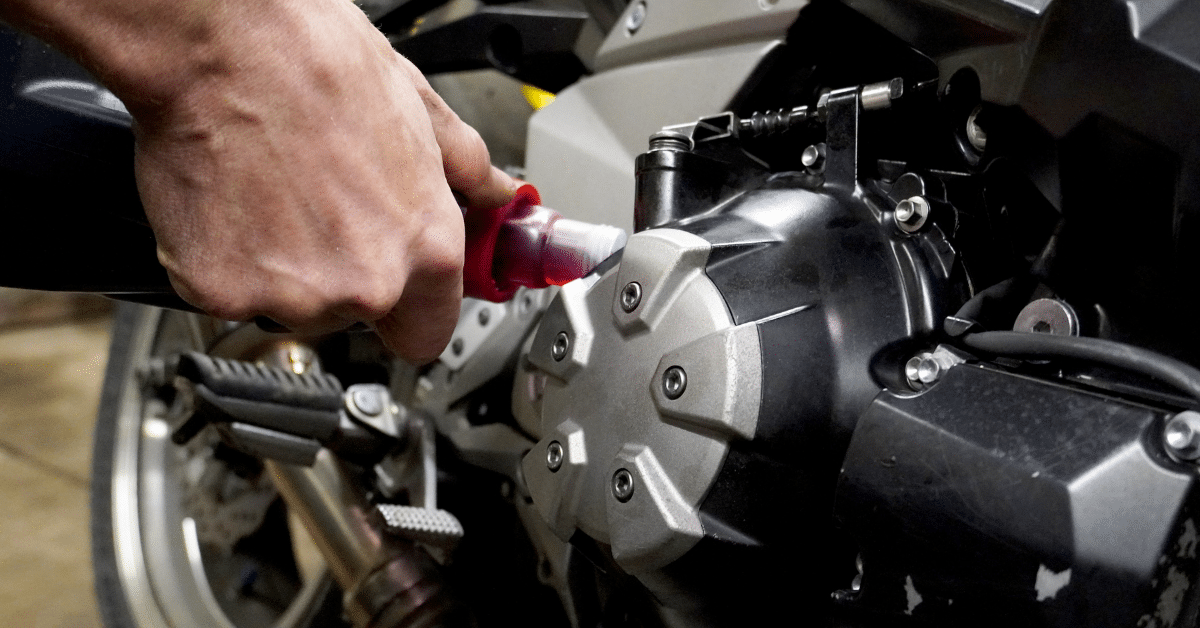
Step 6: Fill the Bike With Fresh Oil
Now, you can pour the new oil into your bike. Your owner’s manual will specify how much oil to use.
Step 8: Start Your Bike
Finally, we recommend starting your engine for a few minutes and inspecting the oil filter for leaks.
Check out our Law Tigers blog for more information about performing basic bike maintenance and lots more. Have you signed up for your free riders benefits package yet? If you or a loved one have been in a motorcycle accident, reach out to us at 1-888-863-7216. We’ve got your back.